Rail Defect Detection by Noncontact Vibration Measurements
Sponsor: FRA
PI: Salvatore Salamone
Safety statistics data from Federal Rail Administration (FRA) indicate that train accidents caused by track failures including rail, joint bars, and anchoring resulted in 3,386 derailments and $685 million in reportable direct costs during the decade from 1998 to 2008. The associated indirect costs caused by disruption of service are considered to be at least equally significant. The leading cause of these accidents was the transverse–compound fissure (reportedly responsible for $158 million in direct damage cost and 808 derailments from 1998 to 2008), followed by the detail fracture (DF) (responsible for $136 million in direct cost and 424 derailments during the same period). Transverse fissures (TFs) (initiating at a location internal to the rail head) and DFs (initiating at the head surface as rolling contact fatigue defects), are cracks primarily growing in a plane perpendicular to the rail running direction. Conventional ultrasonic rail inspection uses piezoelectric transducers that are coupled to the top of the rail with ultrasonic wheels or sleds filled with water or other fluids. The transducers are typically operated at 2.25 MHz in a pulse-echo mode with two orientations, namely normal incidence for detecting horizontal cracks and 70-degree angle of incidence for detecting transverse cracks. The most disconcerting drawback of ultrasonic wheels is that horizontal shallow cracks (shelling) can mask the internal TDs. This limitation was the cause of the derailment of 14 freight cars in Superior, Wisconsin, in 1992, where hazardous material spillage caused the evacuation of more than 40,000 people. A second limitation of ultrasonic wheel inspection is its limited coverage, since the inspection is carried out at each cross section of the rail at a time. Hence the inspection speed is limited by this fundamental constraint in coverage. A third problem with this technique is that the high frequencies used (typically 2.25 MHz) cannot penetrate alumino-thermic welds because of excessive attenuation when propagating through the weld’s coarse microstructure, thus degrading its potential to detect weld cracks or separations.
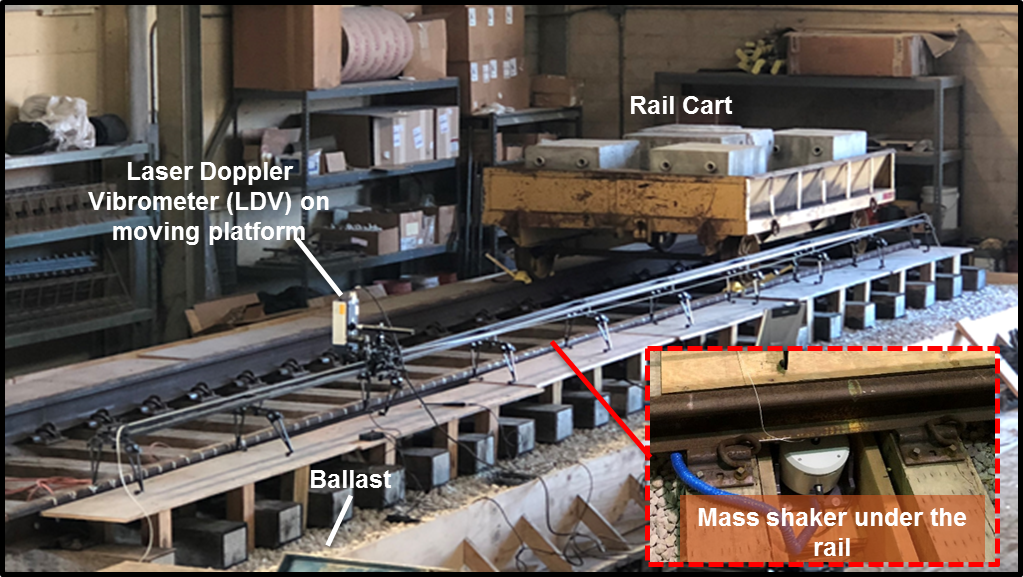
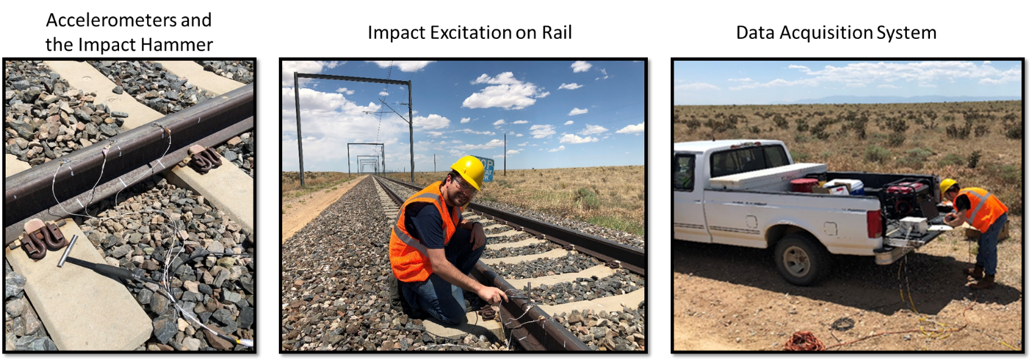
The goal of this project is to design, implement and validate a novel diagnostic technology for enhancing rail integrity inspections. Overall, it is proposed to use laser-based vibration measurements in the rail, and advanced data processing techniques for detection of rail defects. In pursuit of this goal, the objective of this project is to investigate the hypothesis that natural vibrations induced in the rail by the wheel-rail contact, can be measured by a Laser Doppler Vibrometer (LDV) on a moving platform. The study includes large-scale experimental tests and fields test studies.

